Shaving your face is a quick and easy way to achieve smoother skin by removing unwanted hair. The art of facial shaving is called dermaplaning, a cosmetic treatment popular with celebrities, including Eva Mendes and Gwyneth Paltrow. Dermaplaning has created a buzz across social media, especially for those who want an affordable and non-invasive treatment. If you are wondering if a regular razor can do the same job, let’s resolve the dermaplaning vs shaving debate right here.
What Is Dermaplaning?
Dermaplaning uses a surgical scalpel blade to remove peach fuzz and the top layer of dead skin cells. Peach fuzz is the fine hair that grows on our face, which can be more noticeable on others depending on the colour.
There are different types of hair on the face, including vellus hair, the fine facial hair known as “peach fuzz”, and terminal hair, the darker, thicker type such as eyebrows and a moustache.
If you are worried about the hair growing back thicker and darker, don’t worry, as that is a myth. Dr David Jack, an aesthetic doctor based in London, told Popsugar, “A surgical blade is used, which just shaves the ends from the fine vellus hairs. Nothing happens to the follicles themselves, so the growth of the hair isn’t changed.”
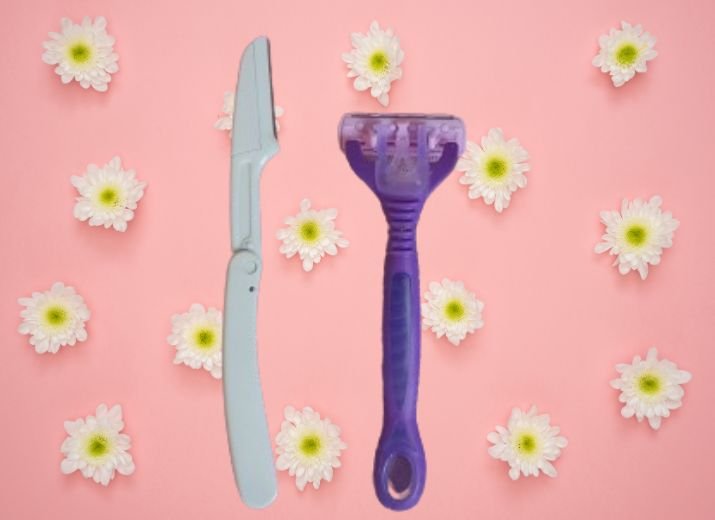
Dermaplaning vs Shaving: Can I Use A Regular Razor On My Face?
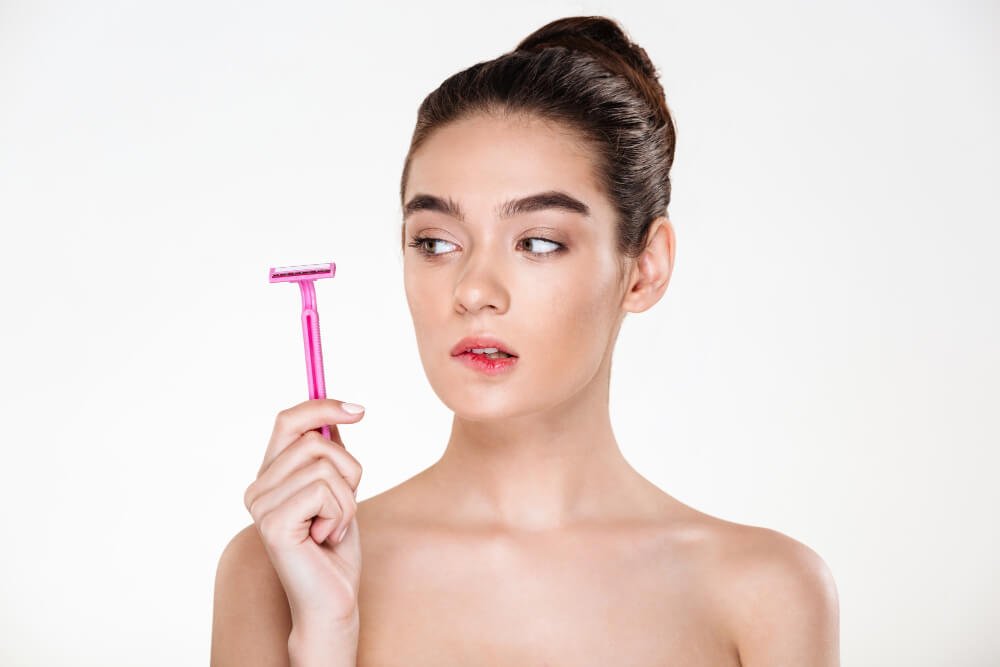
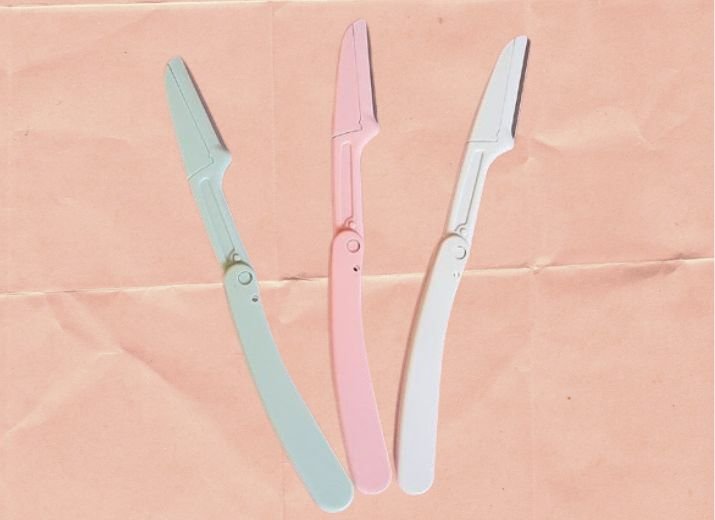
Most of us own disposable razors, so is it ok to shave our face with one? Technically, you can, and a lot of people do, although some skincare professionals don’t recommend it.
The multiple blades on a razor cannot access all the areas on your face, and licensed aesthetician Renée Rouleau explains, “Traditional razors don’t allow you to get as close to the skin as dermaplaning tools.” Unlike dermaplaning, hair removal with a razor requires a shaving cream or soap. These can clog the pores, and there is also the risk of cuts, ingrown hairs or razor burn.
In a nutshell, a regular razor will effectively remove unwanted facial hair and peach fuzz if that’s all you need. If you want to take advantage of other benefits, such as exfoliation, and collagen production, dermaplaning delivers better results.
**Never shave your face with a razor previously used on other parts of the body.**
What Are The Benefits Of Dermaplaning?
- Brighter Complexion
- Youthful-Looking-Skin
- Removes Peach Fuzz
- Smoother Skin For Flawless Make-Up Application
- Quick And Non-Invasive
- Immediate Results
- Reduces The Appearance Of Fine Lines And Wrinkles
- Stimulates Collagen Production
- Exfoliates The Skin
- Reduces Acnes Scarring
- Prevents Acne Breakouts And Clogged Pores
- Evens Out Skin Tone And Texture
- Skincare Products Penetrate The Skin Better
What Happens During a Professional Dermaplaning Treatment?
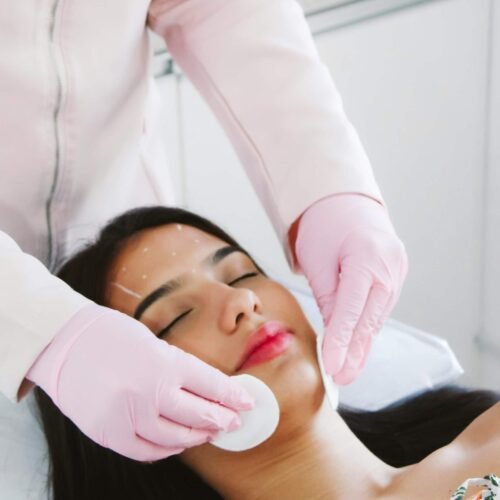
You can expect your appointment to take around thirty minutes, and it’s a non-invasive cosmetic procedure, so don’t be alarmed by the mention of a scalpel. Let’s break down step-by-step what happens at during a dermaplaning treatment.
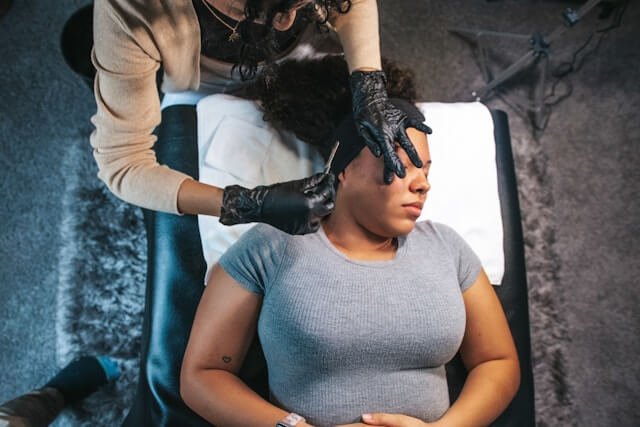
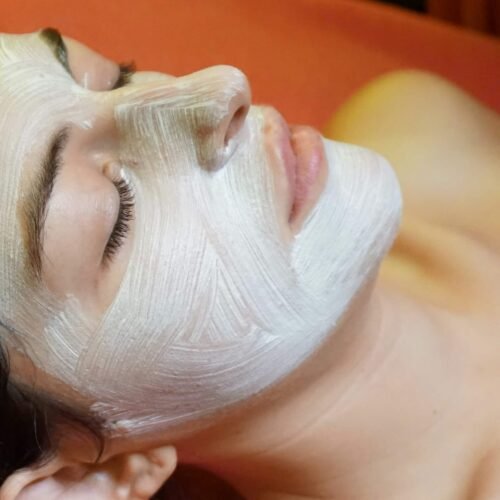
Step 1: The practitioner will start by removing dirt and make-up with a gentle cleanser, which softens the skin, making hair removal easier. The treatment is usually performed on dry skin, although some practitioners may use an oil such as almond or argan.
Step 2: Next, your skin is pulled taut, and a surgical-grade scalpel will scrape the surface of your skin in upward strokes without applying too much pressure to avoid redness and skin irritation.
Step 3: At the end of the treatment, a moisturiser and other skincare products will be applied to reduce any redness or irritation.
Apart from removing peach fuzz, dermaplaning removes dead skin cells from the top layer of the skin. Oil and dirt also gather in this area and are the main culprits for dull-looking skin, which make the appearance of fine lines and wrinkles more visible.
The great thing about dermaplaning is the results are immediate and require no downtime, although there can be a little bit of pinkness on the skin that will quickly subside.
Is It Safe To Do Dermaplaning At Home?
Yes, it is! Many people do at-home dermaplaning from the comfort of their own home and you just need to use the correct technique.
How To Dermaplane At Home: Step-By-Step
- Cleanse the skin, and don’t begin until it’s dry.
- Hold the skin taut with one hand, and use your dermaplaning tool in sections across the face. Do not go over the same area more than once.
- Use light strokes to gently scrape the skin, and hold the blade at a 45-degree angle.
- Apply downward strokes and remove excess hair and skin cells from the blade.
- Finish with a moisturiser to rehydrate the skin and minimise any redness.
Remember to clean your dermaplaning blade before and after use. Sterilise it by wiping with rubbing alcohol or placing it in boiling water for a few minutes, rinse and dry it with a clean towel. Replacing your blades after 3-4 uses is advised.
How often to dermaplane is a personal choice, but once a month is recommended, around the time the skin cells naturally turn over. Dermaplaning is not suitable for all skin types, and avoid it if you have active acne or open wounds.
When it comes to dermaplaning vs shaving your face with a razor, dermaplaning comes out on top. While both methods effectively remove facial hair, dermaplaning provides many more benefits for your skin. If you want silky skin and a glowing complexion with minimal effort, ditch the razor for dermaplaning.
Disclaimer: All the content published on www.thestylecadet.com is solely for information purposes. It is not a substitute for professional medical advice, diagnosis, or treatment. Always consider seeking the advice of your doctor, qualified healthcare provider or dermatologist. The information, suggestions, or remedies mentioned in this article are provided without warranty of any kind, whether expressed or implied.